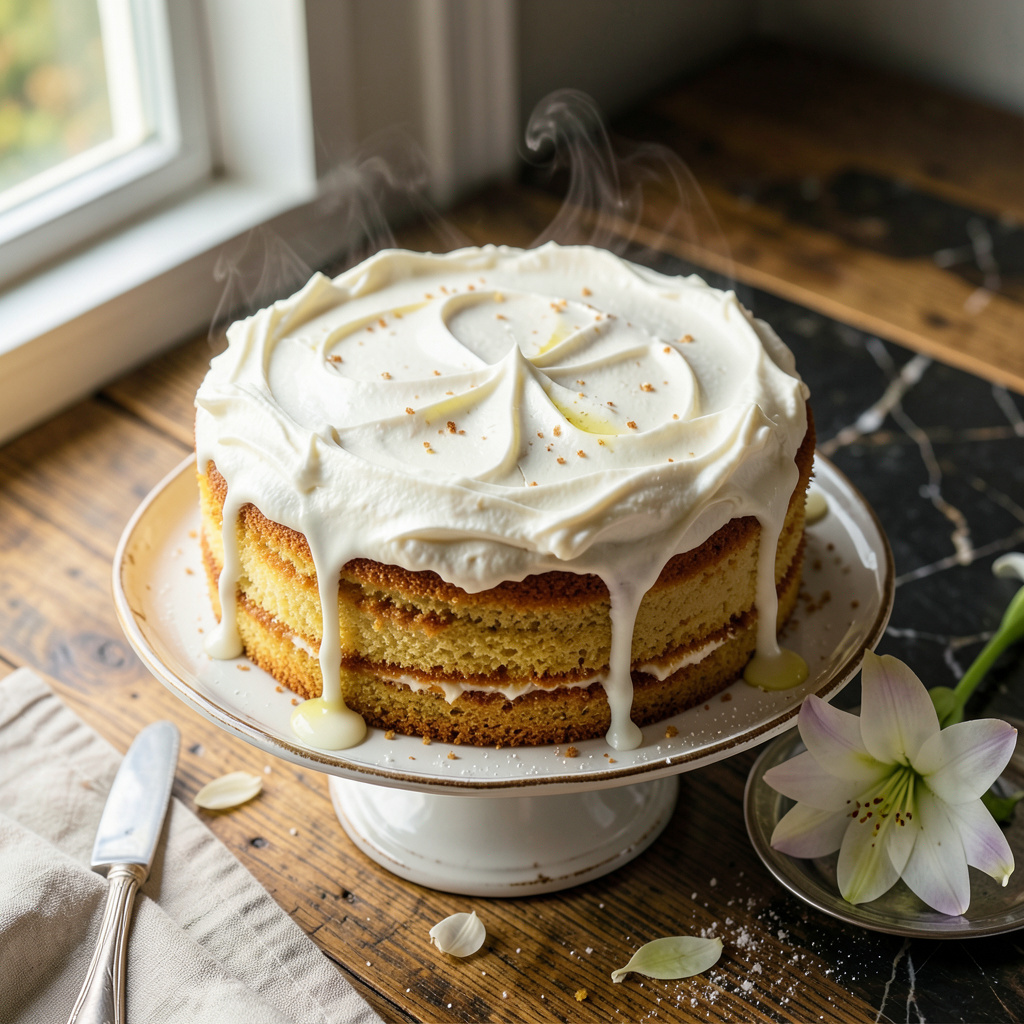
There’s nothing quite like the light, fluffy texture of a well-made pound cake, especially when it’s made with rich whipping cream. This creation brings back memories of family gatherings, where dessert was always the star. You’ll find that this recipe yields a cake that’s not just moist but also perfectly balanced in flavor.
With simple ingredients and straightforward techniques, you’ll be baking a showstopper in no time. Trust me, once you try this method, it will become your go-to for celebrations or just because. Get ready to impress your friends and family with this delightful treat!
Ingredients for White Lily Whipping Cream Pound Cake
Nothing beats a classic pound cake made with rich cream and simple ingredients.
| Ingredient | Amount | Notes |
|---|---|---|
| All-Purpose Flour 🌾 | 2 ½ cups | Sifted for lightness |
| Granulated Sugar 🍬 | 2 cups | Fine granules preferred |
| Unsalted Butter 🧈 | 1 ½ cups | Softened for easy mixing |
| Whipping Cream 🥛 | 1 cup | Rich and high-fat content |
| Large Eggs 🥚 | 4 whole | Room temperature for best results |
| Baking Powder 🧂 | 1 ½ tsp | For leavening the cake |
| Vanilla Extract 🍦 | 2 tsp | Pure extract for flavor depth |
| Salt 🧂 | ½ tsp | Balances sweetness well |
| Powdered Sugar 🍬 | ½ cup | For dusting on top, optional |
| Zest of Lemon 🍋 | 1 whole | Adds brightness to flavor |
The flour is key here; White Lily is my go-to for that ultra-light texture—grab it from Walmart or Target. If you can’t find it, any all-purpose flour will work, but you might miss that fluffiness. The butter should be softened, not melted—trust me, it makes mixing so much easier. And don’t forget to use good-quality vanilla extract; it really elevates the flavor.
No whipping cream? Full-fat milk plus a bit of melted butter can work in a pinch. You can also swap in buttermilk for a slightly tangy twist. Fresh eggs are essential for moisture and fluff—if you have to use older ones, make sure they’re still fresh. And feel free to skip the lemon zest if you prefer a more traditional flavor.
This cake keeps well; it’s good for about 4-5 days at room temperature, or you can freeze it for up to 3 months. I usually slice and freeze individual pieces, so I can grab one whenever I have a craving. Just dust with powdered sugar right before serving for a lovely finish.
Step-by-Step Instructions for Whipping Cream Pound Cake
This method will guide you to a deliciously moist and fluffy pound cake every time.
👨🍳 Step 1: Prepare Your Ingredients
Start by gathering all your ingredients. You’ll need 2.5 cups of all-purpose flour, 2 cups of granulated sugar, and 1.5 cups of unsalted butter that’s softened for easy mixing. Having everything at room temperature, especially the eggs, is essential for a smooth batter.
Don’t forget the 1 cup of whipping cream, which adds richness, along with 1.5 teaspoons of baking powder for leavening. The flavor will come from 2 teaspoons of vanilla extract and the zest of 1 whole lemon. Finally, you’ll use 0.5 teaspoons of salt to balance the sweetness.
🍳 Step 2: Cream Butter and Sugar
In a large mixing bowl, beat the softened butter and granulated sugar together on medium speed for about 4-5 minutes. This step is crucial as it incorporates air into the mixture, leading to a light and fluffy texture in your cake.
You’ll know it’s ready when the mixture turns pale and fluffy, almost doubling in volume. Make sure to scrape down the sides of the bowl with a spatula to ensure everything is evenly mixed. This is the moment that matters: your cake’s base starts here!
🍳 Step 3: Incorporate Eggs and Wet Ingredients
Add the four large eggs to the creamed mixture, one at a time, mixing well after each addition. This allows the eggs to emulsify properly into the batter, contributing to that perfect moistness.
Next, pour in the 1 cup of whipping cream, followed by the 2 teaspoons of vanilla extract and the zest of the lemon. Mix until everything is just combined; overmixing can lead to a denser cake than you want. You’ll see the batter start to come together beautifully.
🥘 Step 4: Combine Dry Ingredients
In a separate bowl, whisk together the 2.5 cups of all-purpose flour, 1.5 teaspoons of baking powder, and 0.5 teaspoons of salt. This step ensures even distribution of the leavening agent and salt throughout your batter.
Gradually add this dry mixture to the wet ingredients, mixing on low speed until just combined. You might see some lumps, but that’s okay—just don’t overmix! The batter should be thick yet pourable, ready for baking.
⏰ Step 5: Bake and Cool
Preheat your oven to 325°F. Pour the batter into a greased and floured bundt pan or loaf pan, smoothing out the top with a spatula. Bake for about 60-70 minutes, or until a toothpick inserted in the center comes out clean.
Keep an eye on it as it bakes; you want to achieve that lovely golden brown color on top. Once done, remove it from the oven and let it cool in the pan for about 15 minutes. Then transfer it to a wire rack to cool completely before dusting with 0.5 cup of powdered sugar.
Common Mistakes When Making This Dish
Incorrect Ingredient Measurements
One of the most common mistakes is not measuring ingredients accurately. Using 2.5 cups of all-purpose flour or 1.5 cups of unsalted butter can drastically affect the cake’s texture. I always recommend using a kitchen scale for precise measurements, especially with flour. 🌾
Overmixing the Batter
Mixing the batter too much can lead to a dense pound cake. Once you combine wet and dry ingredients, mix just until everything is incorporated. The batter should be thick but not overly smooth. Trust me, a little lumpiness is okay! 🍰
Using Cold Ingredients
It’s essential to use room temperature ingredients, especially the eggs and butter. Cold ingredients don’t blend well, which can affect the rise and texture. I usually take my eggs and butter out about an hour before baking for best results.
Baking at the Wrong Temperature
Baking your cake at an incorrect temperature can lead to uneven cooking. Always preheat your oven to 325°F, and avoid opening the oven door frequently. I find that an oven thermometer is a game-changer for ensuring accuracy! 🔥
Not Cooling Properly
After baking, let your cake cool in the pan for about 15 minutes before transferring it to a wire rack. This prevents it from breaking apart. I usually set a timer so I don’t forget—trust me, patience is key! ⏰
Skipping Flavor Enhancers
A common oversight is neglecting flavor enhancers like vanilla extract and lemon zest. These ingredients elevate the taste significantly. I always add a little extra vanilla because it adds depth to the cake’s flavor profile. 🍦
Nutrition Facts
Frequently Asked Questions
What can I substitute for whipping cream in this recipe?
You can use full-fat milk combined with a bit of melted butter as a substitute. Alternatively, buttermilk adds a nice tang while still keeping the cake moist. Just ensure to adjust the measurements accordingly!
Why is using room temperature ingredients important?
Room temperature ingredients blend more smoothly, leading to a better texture in your cake. Cold butter or eggs can create lumps and prevent proper rising, so take them out about an hour before baking.
How can I prevent my cake from sinking in the middle?
Ensure not to overmix the batter after adding dry ingredients. Overmixing can develop gluten and lead to a dense cake that sinks. Mixing just until combined helps maintain a fluffy texture!
What’s the best way to store leftovers?
Keep your pound cake in an airtight container at room temperature for up to 4-5 days. For longer storage, slice and freeze individual pieces for up to 3 months. Enjoy whenever cravings hit!

- Asian Restaurant Salad Dressing Recipe: Bold Sesame-Ginger Swirl With Umami Depth - October 18, 2026
- Asian Restaurant Salad Dressing Recipe: Bold Sesame-Ginger Swirl With Umami Depth - October 18, 2026
- Beef Boneless Chuck Country Style Ribs Crock Pot Recipe: Slow-Simmered Smoky Tenderness - October 18, 2026