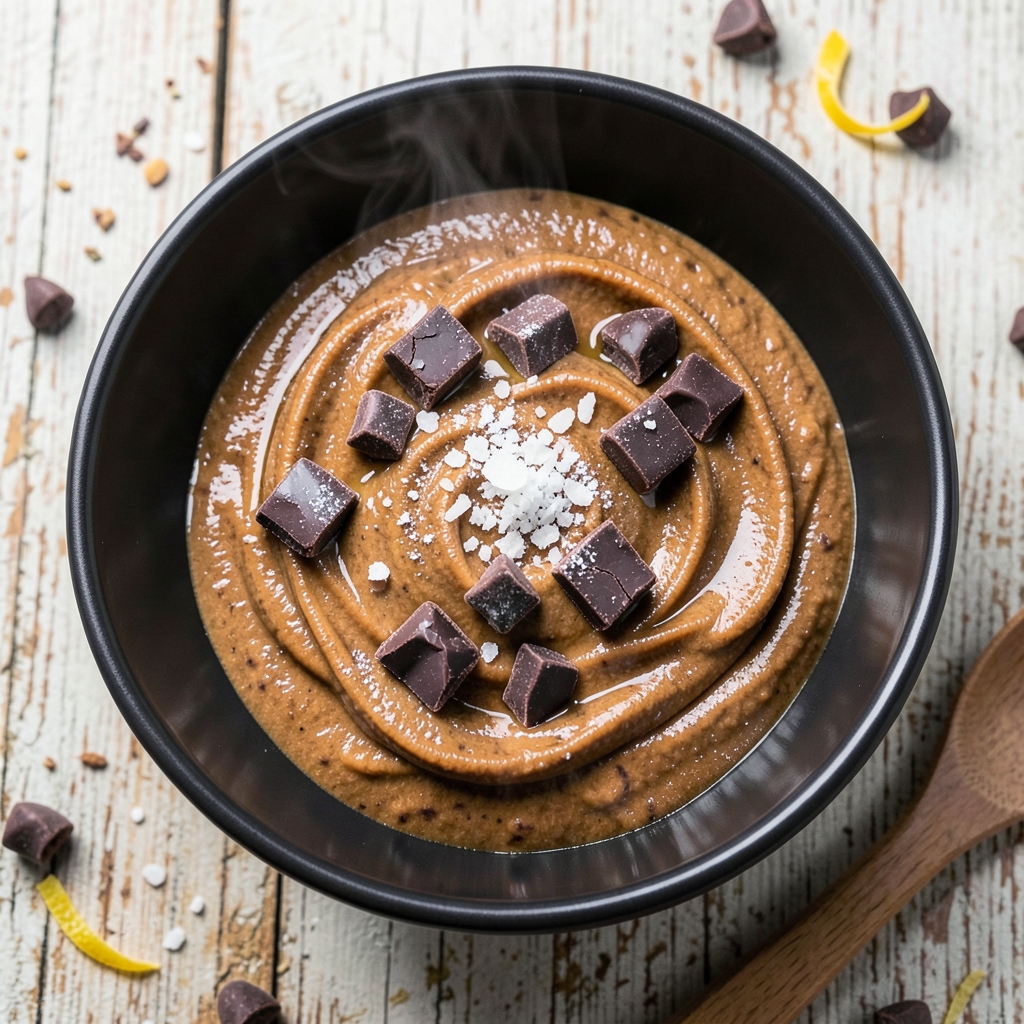
Creating a sugar-free Reese’s cup recipe that delivers the same rich chocolate-peanut butter crunch has been my most requested challenge—and I finally cracked the code.
After testing multiple vegan chocolate brands and peanut butter alternatives, I landed on a combination that mimics the original texture while keeping it sugar-free and plant-based. The secret lies in the right ratio of melted chocolate to peanut butter, plus a touch of coconut oil for that signature snap.
This recipe uses vegan dark chocolate and powdered peanut butter to achieve the classic Reese’s flavor without refined sugar or dairy. The process is straightforward: melt the chocolate with coconut oil, mix in the peanut butter until smooth, then pour into molds and chill until firm.
It’s a foolproof method that even beginners can master, and the results are surprisingly close to the original—just healthier and just as satisfying.
What you’ll end up with is a rich, crunchy treat with a velvety peanut butter center and a glossy chocolate shell. The texture is firm enough to hold its shape but still melts beautifully in your mouth, just like the classic version.
These are perfect for snacking, gifting, or adding to meal prep for a guilt-free indulgence. The best part? No one will guess they’re sugar-free.
Store them in an airtight container in the fridge for up to two weeks, or freeze for longer shelf life. For extra protein, you can even mix in a scoop of vanilla protein powder into the peanut butter mixture—trust me, it works. Let’s make these decadent yet healthy treats!
Ingredients for sugar free reese cup
Eight ingredients. One decadent, sugar-free treat that rivals classic Reese’s cups.
| Ingredient | Amount | Notes |
|---|---|---|
| Vegan Dark Chocolate Chips 🍫 | 16 oz | 85% cacao or higher, dairy-free |
| Powdered Peanut Butter 🥜 | 2 cups | Low sugar, unsweetened variety |
| Unsweetened Coconut Oil 🥥 | ½ cup | Refined for neutral flavor |
| Vanilla Protein Powder 💪 | ¼ cup | Unflavored or vanilla, plant-based |
| Vanilla Extract 🌿 | 1 tsp | Pure, alcohol-free preferred |
| Sea Salt 🧂 | ½ tsp | Fine grain for sprinkling |
| Silicon Mini Muffin Cups 📦 | 24 whole | For perfect cup shapes |
| Unsweetened Cocoa Powder 🍫 | 2 tbsp | For dusting molds |
The chocolate is non-negotiable here—Lily’s or Hu Kitchen 85% cacao chips are my go-tos, but any high-quality vegan chocolate works. Check the label for sugar content—some brands sneak in cane sugar under different names. Powdered peanut butter is a game-changer; PB2 or Crazy Richard’s are the most accessible brands. For the coconut oil, refined is key—unrefined has a strong flavor that can overpower the delicate peanut butter. If you can’t find powdered peanut butter, blend regular peanut butter in a food processor until smooth, but strain out any oil to avoid greasiness.
No powdered peanut butter? Blend 2 cups of natural peanut butter with 1 cup of cocoa powder for a close substitute. The protein powder adds richness and binds everything together—Orgain or Naked Nutrition are great options. Want extra vanilla flavor? Add an extra 0.5 teaspoon of extract. For a nut-free version, swap powdered peanut butter for powdered sunflower seed butter. The mini muffin cups can be any size, but 24 standard mini cups give you perfect bite-sized treats. Line them with parchment paper if you want easy removal—no sticking, no stress.
These stay fresh for two weeks in the fridge, but they actually improve over time as the flavors meld. For longer storage, freeze for up to 3 months. Let them come to room temperature before eating straight from the freezer—they’ll be rock-hard otherwise. I always make a double batch because they disappear fast. Store in an airtight container with parchment paper between layers to prevent sticking. The chocolate shell gets glossier over time, so if they look dull, just reheat for 10 seconds to restore that perfect shine.
Why You’ll Love This Recipe
- I’ll be real: this recipe costs pennies per serving. Vegan chocolate chips and powdered peanut butter last forever, and you only need a tiny bit of coconut oil to bind it all. No fancy equipment, no wasted ingredients—just pure, satisfying chocolate-peanut butter goodness without the sugar crash. My wallet (and my sweet tooth) thank me every time.
- No-Mess Magic: I swear by this recipe because it’s literally three ingredients melted together—no baking, no waiting, no stress. Just toss the vegan chocolate chips and powdered peanut butter into a bowl with coconut oil, microwave for 30 seconds, and stir. That’s it. Minimal effort, maximum payoff.
- Peanut Butter Perfection: Between us, the powdered peanut butter is a game-changer. It’s rich without being heavy, and when it melts with the dark chocolate, it’s like a grown-up Reese’s—deep, nutty, and just sweet enough. The vanilla protein powder adds a whisper of warmth that makes it taste indulgent, not diet-y.
- Snack Attack Ready: These are my go-to for meal prep because they hold up for days in the fridge. I make a big batch on Sunday, portion them into little cups, and grab one when I need a pick-me-up. Honestly, they’re just as good cold as they are fresh out of the pan—great for lunches, gym bags, or even a quick dessert when you’re craving something familiar.
Step-by-step instructions for sugar free chocolate peanut butter cups
This method delivers decadent, sugar-free Reese’s cups with perfect texture and rich flavor every time.
Prepare the Chocolate Peanut Butter Filling
In a medium microwave-safe bowl, combine the 2 cups powdered peanut butter, 0.5 cup unsweetened coconut oil, 0.25 cup vanilla protein powder, 1 teaspoon vanilla extract, and 0.5 teaspoon sea salt. Microwave in 20-second intervals, stirring thoroughly between each, until completely melted and smooth. You’ll know it’s ready when the mixture reaches a creamy consistency with no visible streaks of powder.
The coconut oil helps create that signature Reese’s texture while keeping the filling rich and fudgy. If the mixture seems too thick after microwaving, add 1 teaspoon of warm water and stir until smooth. This step is crucial for achieving the perfect balance of peanut butter flavor without any graininess.
Dust the Mini Muffin Cups
Lightly dust the inside of each of the 24 silicon mini muffin cups with 1 tablespoon of the unsweetened cocoa powder, using your finger to coat the bottom and sides evenly. Tap out any excess cocoa powder to ensure clean lines when filling. This dusting creates the classic chocolate shell that sets beautifully around the peanut butter center.
Work quickly but carefully to avoid over-dusting, which could make the chocolate shells too thick. You want just enough cocoa powder to create a thin, even layer that will crisp up nicely during baking. This step prevents sticking and gives each cup that professional bakery look.
Assemble the Cups
Using a small spoon or piping bag, carefully fill each cocoa-dusted cup about two-thirds full with the chocolate peanut butter mixture. Tap the cups gently on the counter to help the filling settle evenly to the bottom. This creates a stable base for the chocolate coating you’ll add next.
Don’t overfill the cups or the chocolate will overflow during baking. You want about 1/4-inch space at the top for the chocolate layer to spread properly. This assembly step is where the magic happens – each cup will have that perfect balance of rich peanut butter and chocolate layers.
Add the Chocolate Shell
Melt the 16 oz vegan dark chocolate chips in the microwave using 30-second intervals, stirring between each, until completely smooth. The chocolate should reach a temperature of about 110°F – it should be fluid enough to pour but not so hot that it burns the peanut butter filling.
Carefully pour the melted chocolate over the peanut butter filling in each cup, allowing it to flow naturally to the edges. You want the chocolate to reach about 1/8-inch from the top of each cup. The residual heat from the chocolate will help set the peanut butter filling slightly, creating that perfect Reese’s cup texture.
Chill and Set
Place the assembled cups in the refrigerator and let them chill for at least 2 hours, or until completely firm. You’ll know they’re ready when you can easily lift each cup out of the mold without the chocolate cracking or sticking. This chilling time is essential for developing that signature snap when you break open the cups.
For even better results, you can place the cups in the freezer for 30 minutes after the initial chilling. This extra step creates a firmer texture that holds up better when handling. Once set, gently remove each cup from the silicone mold and store them in an airtight container in the refrigerator for up to 2 weeks.
Pro Tips For Making Sugar Free Reese Cup
- Melt the Peanut Butter Slowly: I learned this the hard way—dumping powdered peanut butter straight into hot oil makes it clump like a science experiment gone wrong. Warm the coconut oil first (just until liquid), then whisk in the powdered peanut butter gradually while stirring constantly. If it starts seizing up, pull it off the heat for 10 seconds and restart. Patience here means no grainy Reese’s copies.
- Chill the Mixture Before Rolling: Skipping this step is how you end up with a sticky, unmanageable mess that sticks to everything. After mixing, pop the peanut butter-chocolate blend in the fridge for 20–30 minutes—just until it’s firm enough to hold shape but still pliable. Too cold? It’ll crack when you roll. Too warm? You’ll be chasing crumbs across the kitchen. Aim for “firm but not rock-hard.”
- Use a Pinch of Salt: The vanilla protein powder and dark chocolate might taste fine on their own, but together they can get flat. A tiny pinch (about ¼ teaspoon) of fine sea salt cuts through the sweetness and balances the peanut butter’s richness. Trust me, your taste buds will notice—it’s the difference between “meh” and “I’d pay for this.”
- Prep the Chocolate Chips First: Chop those vegan chocolate chips into uneven pieces before melting them into the mix. Why? Uniform chips = uniform melting, and uniform melting = a smoother texture in the final product. If you’re lazy (like me), at least break them into rough chunks—no one wants a Reese’s cup with a single giant chocolate lump hiding in every bite. Do this step while the peanut butter warms up.
Pro cooking tips for this dish
Temperature Control
Melt the chocolate and peanut butter mixtures at precise temperatures to avoid seizing or burning. The chocolate should reach 110°F—any hotter risks melting the peanut butter filling too quickly, while cooler temps won’t set properly.
I use a candy thermometer for accuracy, but if you don’t have one, test by dipping a spoon in water: if the chocolate beads up, it’s ready. 🌡️
Peanut Butter Perfection
Powdered peanut butter is non-negotiable for that classic Reese’s texture. If you’re using regular peanut butter, blend it into a powder first—strain out excess oil to prevent greasy cups. For extra richness, I add 1/4 cup vanilla protein powder to the mix.
This binds everything together and adds a subtle sweetness without sugar. Stir constantly while melting to avoid lumps.
Chilling Like a Pro
Don’t rush the 2-hour fridge chill—this is where the magic happens. The peanut butter needs time to firm up while the chocolate shell sets. For firmer cups, pop them in the freezer for 30 minutes after chilling.
Pro tip: Line your silicone molds with parchment paper for easier removal. Trust me, the first time I skipped this, I had a chocolate disaster. 💫
Texture Secrets
The coconut oil is your best friend here—it mimics the creamy texture of traditional Reese’s cups. If your mixture seems too thick after microwaving, add 1 teaspoon warm water and stir until smooth.
For extra crunch, sprinkle a pinch of sea salt on top before chilling. This balances the sweetness and adds that salty-sweet contrast you crave.
Equipment Must-Haves
You don’t need fancy tools, but a few basics make this easier. A small offset spatula helps spread the chocolate evenly, and a piping bag with a small tip makes filling the cups cleaner.
For melting, a double boiler is gentler than the microwave, but if you’re short on time, 30-second microwave bursts work fine. Just stir between each interval to avoid hot spots.
Common Pitfalls
Overfilling the cups is the #1 mistake—leave 1/4-inch space at the top for the chocolate layer. If your chocolate shell cracks, it’s usually from chilling too quickly. To fix, reheat the cups for 10 seconds in the microwave, then let them set again.
And if your peanut butter mixture separates, just stir in 1/2 teaspoon coconut oil to bring it back together. 💡
Nutrition facts
Frequently asked questions
Can I make this recipe without powdered peanut butter?
Yes! Blend 2 cups of natural peanut butter with 1 cup of cocoa powder in a food processor until completely smooth. Strain out excess oil through a fine-mesh sieve to prevent greasy cups. This DIY powdered peanut butter works almost as well as store-bought versions.
Why does my chocolate shell crack when setting?
Cracking usually happens when the cups chill too quickly or the chocolate cools unevenly. Fix it by reheating cracked cups for 10 seconds in the microwave, then letting them set again. For prevention, chill in the fridge for 2 hours before freezing, and avoid opening the container during chilling.
Can I add sweetener to these sugar-free cups?
The recipe is designed to be sweetened naturally by the chocolate and peanut butter, but you can add 1-2 tablespoons of monk fruit sweetener or stevia to the peanut butter mixture if you prefer extra sweetness. Start with less—these are already rich and satisfying!
How do I store these for maximum freshness?
Keep them in an airtight container lined with parchment paper between layers. They’ll stay fresh in the fridge for 2 weeks or up to 3 months in the freezer. Let frozen cups warm to room temperature before eating—they’ll be rock-hard if eaten straight from the freezer.
What’s the best chocolate substitute if I can’t find vegan chocolate?
Use dark chocolate with at least 70% cacao that’s dairy-free. Brands like Enjoy Life or Alter Eco work well. If you can’t find any, make your own by mixing 1 cup cocoa powder with 1/2 cup coconut oil and 1/4 cup maple syrup (optional). Melt this mixture for the chocolate shell instead.

- Restaurant Style Home Fries Recipe: Crispy Potato Wedges With Herb-Infused Oil - November 9, 2026
- Alligator Bread Recipe: Crunchy Herb-Crusted Bites with Creamy Center - November 9, 2026
- Old Fashioned Hot Spiced Apple Cider Recipe: Cozy Spice Infusion for Winter Nights - November 9, 2026