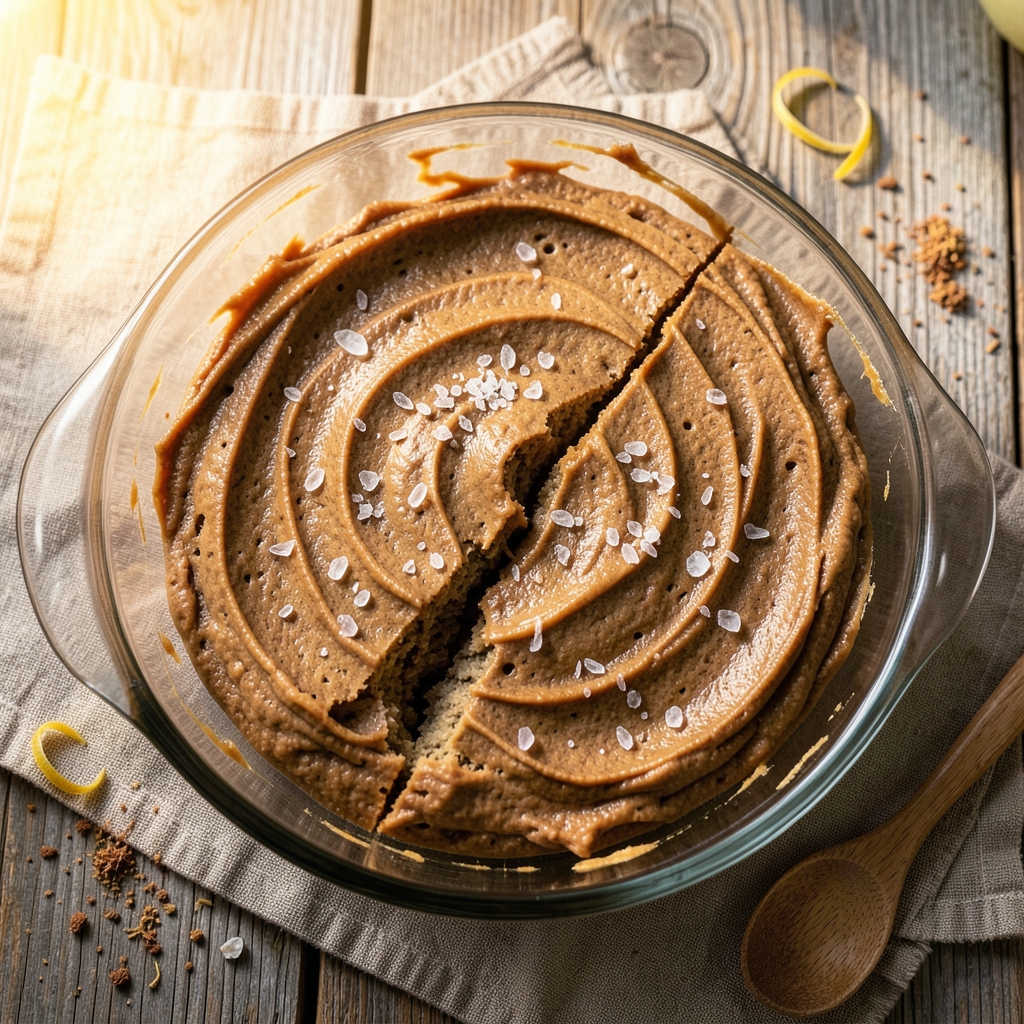
This Subway peanut butter cookie recipe delivers the iconic taste you love with a homemade twist—crunchy peanut butter centers wrapped in a buttery, caramelized edge that cracks just enough to reveal the gooey goodness inside.
I spent weeks perfecting the texture, testing everything from oven temperatures to baking times, because those store-bought cookies just don’t compare. The secret lies in the ratio of peanut butter to flour and a precise baking method that ensures every bite has that signature contrast.
The recipe itself is deceptively simple—just six core ingredients, 15 minutes of prep, and 12 minutes in the oven at 350°F.
No fancy equipment or professional techniques required, though I’ll share the exact method I use to prevent overbaking (a common mistake that turns these into sad, flat disks).
The dough comes together in minutes, and the aroma filling your kitchen will have everyone asking what you’re making before the first cookie even comes out of the oven.
What you’ll end up with is a batch of cookies that’s rich, nutty, and perfectly balanced—soft enough to melt in your mouth but with enough structure to hold its shape.
The peanut butter flavor shines through without being overpowering, and those caramelized edges add a satisfying crunch that keeps you reaching for another. These aren’t just cookies; they’re a nostalgic treat that tastes like a trip to your favorite bakery, but with the flexibility to customize.
For those who love to experiment, try swirling in a spoonful of jam before baking or adding chocolate chips for extra decadence.
The dough holds up well, so you can even shape them into balls, press them flat, or cut them into fun shapes—just don’t skip the chilling step, or you’ll regret it. Let’s get baking!
Ingredients for subway peanut butter cookie
Six simple ingredients transform into nostalgic, crunchy-peanut-butter-center cookies with caramelized edges.
| Ingredient | Amount | Notes |
|---|---|---|
| Creamy Peanut Butter 🥜 | 1 cup | Natural, unsweetened preferred |
| All-Purpose Flour 🌾 | 1 ½ cups | Sifted for light texture |
| Granulated Sugar 🍚 | ½ cup | White or light brown |
| Unsalted Butter 🧈 | ½ cup | Cold, cubed for dough |
| Vanilla Extract 🌸 | 1 tsp | Pure, high-quality |
| Baking Soda 🧂 | ½ tsp | For lift and flavor |
| Salt 🧂 | ¼ tsp | Fine sea salt |
The peanut butter is non-negotiable—natural, unsweetened gives the best flavor without added oils or sugars. Smucker’s Natural or Jif Natural work perfectly, but skip the crunchy kind. The butter needs to be cold and cubed—don’t melt it first, or the cookies will spread too much. I always grab my butter from Trader Joe’s since it’s consistently high-quality, but any good brand works. The flour? King Arthur or Gold Medal are my go-tos—they’re reliable and give a tender crumb. Sift it before mixing to avoid lumps, which can make your cookies dense.
No natural peanut butter? Creamy regular peanut butter works too, but you might want to reduce the sugar slightly. Short on vanilla? Almond extract at half the amount adds depth. The baking soda is crucial—it’s what gives those cookies their signature lift. If you’re out, baking powder at double the amount can work, but the flavor won’t be quite the same. For a sweeter twist, add 1 tbsp of jam or chocolate chips to the dough before baking. The dough is sensitive to humidity, so if it feels too sticky, chill it for 30 minutes before rolling.
These cookies keep for 5 days in an airtight container at room temperature, but they’re best fresh out of the oven. For longer storage, freeze the dough balls for up to 3 months—bake straight from frozen, adding 2 extra minutes to the time. I like to portion the dough into 12 equal balls before baking, so they all cook evenly. The aroma alone is worth the wait—trust me, your kitchen will smell amazing.
Why You’ll Love This Recipe
- No Mixer Needed: Mixing the dough by hand takes less than 3 minutes—just fold that creamy peanut butter into the butter and sugar until it’s just combined. No waiting for machines, no extra bowls, and zero fuss. Honestly, I’ve made these while chatting on the phone.
- Salty-Sweet Magic: That first bite? Crispy edges hugging a gooey peanut butter center, with just enough vanilla to make it feel like a hug. The sugar caramelizes perfectly, and the peanut butter’s richness balances the buttery warmth—no weird aftertaste, just pure, satisfying flavor.
- Packable Perfection: These hold up amazingly well in a lunchbox or snack jar for days. I’ve sent them to work, packed them for road trips, and even used them to bribe my nephew into carpooling. (Yes, even on a Tuesday morning.)
- Pantry Staple Budget Win: You’re already using what’s in your kitchen—no specialty ingredients, no last-minute grocery runs. A single batch costs me less than $3, and the dough keeps for weeks in the fridge. Between us, this is my go-to when I’m broke but still want to feel fancy.
Step-by-step instructions for Subway peanut butter cookies
Here’s how to make these iconic cookies with their signature crunchy centers and caramelized edges.
Cream the Peanut Butter and Butter Together
In a large mixing bowl, combine the 1 cup creamy peanut butter and 0.5 cup unsalted butter (cold, cubed). Using a hand mixer or stand mixer fitted with the paddle attachment, beat on medium speed for 3-4 minutes until the mixture is light and fluffy. You’ll notice it nearly doubles in volume and becomes pale in color—this is the air being incorporated, which creates that perfect texture.
Real talk: Don’t rush this step. The creaming process is what gives these cookies their signature chewy-yet-crunchy texture. If your peanut butter is too thick to mix easily, let it sit at room temperature for 10-15 minutes first. I’ve found that natural, unsweetened peanut butter works best here—it has a better balance of fat and protein for the ideal dough consistency.
Mix in Wet Ingredients and Sift Dry Ingredients
Reduce the mixer speed to low and add the 0.5 cup granulated sugar and 1 tsp vanilla extract. Mix for 1 minute until the sugar is fully incorporated and the mixture is smooth. In a separate bowl, sift together the 1.5 cups all-purpose flour, 0.5 tsp baking soda, and 0.25 tsp salt. This sifting step is crucial—it prevents dense pockets in the cookies and gives them that light, airy texture.
With the mixer still on low, gradually add the sifted dry ingredients to the wet mixture. Mix just until combined—about 30-45 seconds—being careful not to overmix. You should still see a few streaks of flour. Overmixing develops gluten, which makes cookies tough instead of tender. The dough will be thick and sticky, almost like a thick cookie dough.
Chill the Dough for Perfect Texture
Transfer the dough to a bowl and cover it tightly with plastic wrap. Refrigerate for at least 2 hours (I prefer 4 hours or even overnight). This chilling step is what creates those signature crunchy centers and caramelized edges. When cold, the butter solidifies, preventing excessive spreading in the oven, and the peanut butter firms up just enough to maintain its texture.
Here’s the thing—don’t skip this step. I learned the hard way that warm dough spreads too much, resulting in thin, cakey cookies instead of the thick, chewy ones you want. The longer you chill, the better the texture. If you’re short on time, at least 1 hour in the fridge will help, but 2 hours is ideal for that perfect balance of crunch and chew.
Preheat and Shape the Cookies
Preheat your oven to 350°F and line two baking sheets with parchment paper. Using a cookie scoop or tablespoon, drop 1-tablespoon portions of dough onto the prepared sheets, spacing them about 2 inches apart. The dough will be very sticky, so I like to use a wet spoon to help shape the dough balls and prevent sticking.
Gently flatten each dough ball with the back of the spoon to about ½-inch thickness. You’ll notice the dough springs back slightly—that’s normal. The cookies will spread and thicken as they bake. Don’t worry if they look uneven; they’ll come together beautifully in the oven. Place the baking sheets in the refrigerator for 10-15 minutes before baking to help them maintain their shape.
Bake to Golden Perfection
Bake the cookies for 10-12 minutes until the edges are golden brown and the centers still look slightly underdone. They should have a caramelized, slightly crispy edge with a soft, gooey center. The key is to pull them out when the edges are just starting to brown—they’ll continue cooking on the hot baking sheet.
Let the cookies cool on the baking sheet for 5 minutes before transferring them to a wire rack to cool completely. This resting time is important—it allows the centers to set slightly while keeping the edges crisp. If you try to move them too soon, they’ll lose their shape and become too soft. Enjoy them warm for the ultimate experience, but they’ll keep well at room temperature for 3-4 days in an airtight container.
Pro Tips For Making Subway Peanut Butter Cookie
- Measure Butter Cold: Scoop your unsalted butter straight from the fridge—this isn’t a time for room temperature. Cold butter creates pockets in the dough that melt into flaky layers during baking, while softened butter just makes dense, flat cookies. I learned this the hard way after a batch turned out like hockey pucks.
- Mix Peanut Butter First: Stir your creamy peanut butter until it’s smooth—no streaks, no lumps. The recipe relies on even distribution, and clumps will leave dry patches in your cookies. Use a spatula to scrape the bottom of the bowl; I skip this step sometimes, and the texture suffers.
- Skip Overmixing Dough: Once the flour hits the wet ingredients, stop stirring after just 10-12 turns. Overworking the dough develops gluten, and your cookies will turn out tough instead of chewy. Fold in the peanut butter with a spatula instead of mixing—it’s less work and keeps the texture right.
- Use a Timer for 10 Minutes: Pull your cookies when the edges are just golden, not brown—this recipe bakes fast. Set a timer for 10 minutes total (adjust for your oven) and watch the first batch closely. Overbaking turns them dry; underbaking leaves them gummy. I was skeptical until I tried it—now I never skip it.
Serving suggestions for this dish
Warm Serving Style
Serve these cookies warm straight from the oven for that perfect contrast of crispy edges and gooey centers. I like to arrange them on a wooden board or ceramic platter—the natural wood or earthy tones complement the golden-brown cookies beautifully.
Add a sprinkle of flaky sea salt right after baking to enhance the peanut butter flavor. The aroma alone will draw everyone to the table. 🍪
Iced Coffee Pairing
These cookies are a match made in heaven with vanilla or caramel iced coffee. The cool, creamy coffee balances the richness of the peanut butter, while the caramel notes echo the cookies’ sweetness.
I often make a big batch of Starbucks Vanilla Sweet Cream Cold Brew and serve it in tall glasses with ice and a splash of cream. The contrast of temperatures makes every bite even more satisfying.
Milk and Cookie Platter
Create a nostalgic milk-and-cookie platter by arranging the cookies alongside a glass pitcher of cold milk or chilled chocolate milk. Add a few extra cookies on the side for easy grabbing, and include a small bowl of mini marshmallows or chocolate chips for dipping.
This setup is perfect for movie nights or family gatherings—it’s simple, comforting, and always a crowd-pleaser. 🥛
Gift-Worthy Packaging
For a thoughtful gift, package the cookies in clear cellophane bags tied with a ribbon or twine. Add a handwritten note on a small card, and you’ve got a gift that’s as delicious as it is personal.
I like to include a few extra cookies in a mini mason jar for a cute touch. These cookies travel well, so they’re perfect for sharing with neighbors, coworkers, or friends.
Breakfast or Brunch
Start your day with these cookies for a sweet but satisfying breakfast. Pair them with a cup of black coffee or hot tea and a slice of toasted brioche. The peanut butter flavor gives a nice energy boost, while the caramelized edges add a touch of indulgence.
This combo is especially great on weekends when you want something comforting but still special.
Dessert with Ice Cream
Turn these cookies into a decadent dessert by serving them alongside a scoop of vanilla bean ice cream or peanut butter ice cream. The warm cookies and cold ice cream create a perfect contrast in temperature and texture.
For extra fun, crush a few cookies on top of the ice cream for a crunchy topping. This dessert feels indulgent but is easy to make—ideal for a cozy night in. 🍦
Nutrition facts
Frequently asked questions
Why do these cookies need to chill before baking?
The 2-hour chilling step is what creates those signature crunchy peanut butter centers and caramelized edges. When cold, the butter solidifies, preventing excessive spreading in the oven, while the peanut butter firms up just enough to maintain its texture. Skipping this step often results in flat, cakey cookies instead of the thick, chewy ones you want. Think of it like resting dough—it gives everything time to set up properly.
Can I use crunchy peanut butter instead of creamy?
While creamy peanut butter is ideal for this recipe, you can use crunchy if that’s all you have. Just expect slightly more texture variation in each bite. For the best results, pulse crunchy peanut butter in a food processor until smooth before measuring. The key is to avoid any large peanut pieces that won’t melt evenly during baking.
How do I prevent my cookies from spreading too much?
Spread is usually caused by warm dough or melted butter. Always chill the dough for at least 2 hours and use cold, cubed butter (never melted). When shaping, flatten the dough balls to about ½-inch thickness and place the baking sheets in the fridge for 10-15 minutes before baking. Bake at 350°F for 10-12 minutes—pull them out when edges are just starting to brown.
Can I add mix-ins like chocolate chips or jam?
For chocolate chips, fold in ½ cup after mixing the wet ingredients. For jam swirls, drop spoonfuls of your favorite (raspberry or strawberry work best) into the dough balls before baking. Just be aware these variations may require 1-2 extra minutes in the oven. The dough is forgiving enough to handle these additions without falling apart.
How long do these cookies stay fresh?
At room temperature in an airtight container, they’ll stay fresh for 5 days. For longer storage, freeze the dough balls (unbaked) for up to 3 months—bake straight from frozen, adding 2 extra minutes to the time. The flavor actually improves slightly after the first day as the peanut butter mellows. Just avoid refrigerating baked cookies—they’ll lose their crisp edges.

- Best Cod Fish Recipe Ever: Buttery Pan-Seared Crispness in 20 Minutes - November 11, 2026
- Liver and Onions Recipe: Pan-Sear Perfection With Caramelized Depth - November 11, 2026
- Eggs Supreme Recipe: Fluffy Custard With Crispy Herb-Topped Magic - November 11, 2026